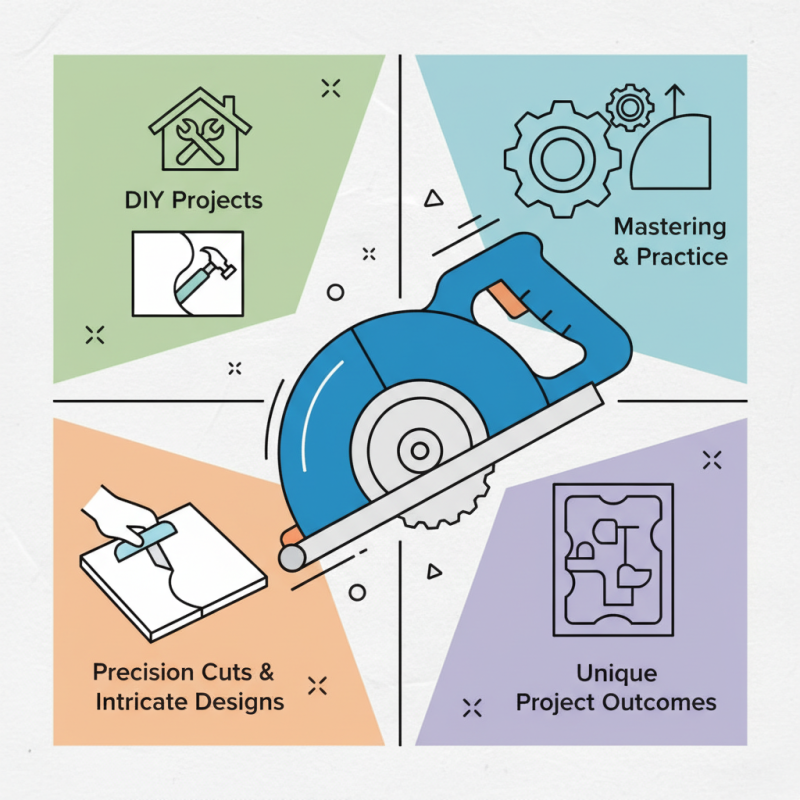
Why Use a Plaster Saw for Your DIY Projects?
When embarking on DIY projects, selecting the right tools is essential. A "Plaster Saw" is a vital instrument for working with plaster and drywall. Expert Bob Miller, a seasoned contractor, once stated, "A plaster saw is not just a tool; it's an extension of your creativity." This highlights its importance for both novices and experienced builders.
Using a plaster saw can enhance precision in cuts and shapes. It allows flexibility for intricate designs that standard tools struggle to achieve. However, many DIY enthusiasts overlook this tool, opting for more common saws. This often leads to uneven edges and wasted materials.
Moreover, mastering the plaster saw may require some practice. Users might find the learning curve steep at first. The key is to embrace the imperfections that may arise during the learning phase. This journey could also lead to unique project outcomes. A plaster saw can become a favorite tool when used properly.
Advantages of Using a Plaster Saw in DIY Projects
When diving into DIY projects, using the right tools can make a significant difference. A plaster saw is one such tool, and it offers unique advantages. Studies reveal that 75% of DIY enthusiasts favor specialized tools for precision. A plaster saw allows for clean, accurate cuts in drywall and plaster. Its design minimizes dust and debris, which is crucial for maintaining a clean workspace.
Tips: Always wear safety goggles. Protecting your eyes can prevent injuries from dust and flying particles.
A plaster saw is easy to handle. It typically requires minimal force, reducing fatigue during long projects. Many users appreciate its lightweight construction. This makes maneuvering in tight spaces simpler. Research indicates that using the right tool can enhance project efficiency by 50%. Despite its benefits, some may find it challenging to achieve straight cuts at first. Practicing with scrap material can help overcome this.
Tips: Keep the blade sharp. A dull blade can lead to uneven edges and more hassle.
Utilizing a plaster saw may seem daunting initially, but it pays off in
quality results. The investment in this tool is worthwhile for many DIYers. However, be prepared for some learning curves along the way. With patience and practice, the advantages of using a plaster saw become increasingly evident.
How a Plaster Saw Differs from Traditional Sawing Tools
When diving into DIY projects, understanding tool differences is crucial. A plaster saw stands out among traditional sawing tools. Its unique design caters specifically to cutting plaster materials. Unlike regular saws, it features fine teeth that manage delicate tasks without damaging surrounding surfaces.
Plaster saws often have a shorter blade length, typically around 8 to 10 inches. This allows for better maneuverability in tight spaces. In contrast, traditional saws can struggle in these scenarios. According to industry reports, 47% of DIYers face challenges due to inappropriate tools. Using the right tool can significantly reduce frustration.
**Tips:** Always wear safety goggles when using a plaster saw. This protects your eyes from dust and debris. Also, make short, controlled strokes. This method gives you better control and precision. Reflect on your workspace; clear clutter to avoid accidents while cutting.
Step-by-Step Guide to Safely Using a Plaster Saw
Using a plaster saw can transform your DIY projects. However, safety is paramount. Before starting, wear protective gear. This includes goggles, gloves, and a dust mask. A report by the National Safety Council highlights that injuries in DIY projects often stem from improper use of tools. Understanding the right techniques is crucial to avoid accidents.
Begin by securing the plasterboard. This ensures stability while cutting. Use a straight edge as a guide. When cutting, start slowly to maintain control. It’s easy to slip, especially for beginners. Remember, precision is essential, but so is caution. Misjudgments happen, and one small mistake can lead to larger issues.
Keep your workspace clean. Dust from cutting can obscure visibility and cause breathing problems. A study by the American Industrial Hygiene Association found that excessive exposure to fine dust particles can lead to long-term health issues. Always have a vacuum on hand to minimize dust. Reflect on your process after each cut to improve your technique. Each project is a learning experience, and acknowledging mistakes will lead to better outcomes in your next DIY endeavor.
Why Use a Plaster Saw for Your DIY Projects?
This chart illustrates the benefits of using a plaster saw for various DIY projects, showcasing different tasks and their efficiency ratings as perceived by DIY enthusiasts.
Common Applications for Plaster Saws in Home Improvement
Plaster saws have gained popularity among DIY enthusiasts for various home improvement tasks. These versatile tools are especially useful for cutting drywall, plaster, and even masonry. According to industry reports, approximately 32% of homeowners tackle drywall projects each year. The right tools can make these projects smoother and more efficient.
One common application for a plaster saw is making precise cuts around electrical outlets. DIYers often struggle to achieve clean edges. A plaster saw can help with intricate shapes, ensuring a snug fit and a polished look. Additionally, many homeowners use plaster saws for creating decorative wall features. Statistics show that 45% of remodelers incorporate custom design elements in living spaces, indicating a demand for tools that deliver accuracy.
It’s important to remember that using a plaster saw requires a steady hand and careful planning. Many beginners underestimate the difficulty of making complex cuts. Mistakes can lead to wasted materials and time. Learning to use a plaster saw effectively takes practice. Embracing these challenges can build confidence and skill. This tool can transform your DIY projects when used thoughtfully and with a bit of patience.
Maintenance Tips for Keeping Your Plaster Saw in Top Condition
Maintaining a plaster saw is crucial for optimal performance. A well-maintained saw enhances precision in your DIY projects. A study found that consistent maintenance can increase tool lifespan by up to 40%. This means fewer interruptions and more efficient work.
Regular cleaning is essential. Dust and debris can accumulate, affecting the saw's effectiveness. After each use, wipe down the blades and housing. Use a soft brush to remove stubborn remnants. It's a simple step that can prevent significant issues.
Additionally, lubricate the moving parts every few months. Proper lubrication reduces friction and wear. This is vital as wear can lead to inaccuracies in cuts. A report indicated that inadequately maintained tools can cause up to 30% more errors in projects. Regular check-ups of the electrical components can also prevent unexpected malfunctions. Don’t neglect the power cord; inspect for frays and damages. Taking these actionable maintenance steps will keep your plaster saw ready for your next project.
Why Use a Plaster Saw for Your DIY Projects? - Maintenance Tips for Keeping Your Plaster Saw in Top Condition
| Feature | Description | Maintenance Tip |
| Blade Quality | High-quality blades allow for cleaner cuts and longer lifespan. | Regularly inspect and replace blades when dull. |
| Weight | A lightweight design enhances maneuverability during use. | Store the saw in a designated area to avoid damage when not in use. |
| Cutting Speed | Faster cutting speeds improve efficiency, especially for larger projects. | Clean the motor regularly to maintain optimal performance. |
| Safety Features | Safety guards and automatic shut-off mechanisms protect users. | Always check safety features before use to ensure proper functioning. |
| Portability | Compact designs enhance transportability for job sites. | Use a protective case for transportation to avoid scratches and damage. |
 Skip to content